Seriously, don’t try this yourself unless you’re a glutton for punishment. Hire someone who has done it many times and knows what they’re doing. It’s a complicated and frustrating undertaking.
However, Kim and I decided we really wanted an autopilot. Our vessel has very little “extras”, and over time we’ve learned that the one thing we really wish we had is an autopilot. Slow boats tend to require constant vigilance at the helm in order to run a straight line. It takes thousands of small adjustments to compensate for sea state, wind and tide. Long passages become quite tedious. Overnighters are almost impossible.
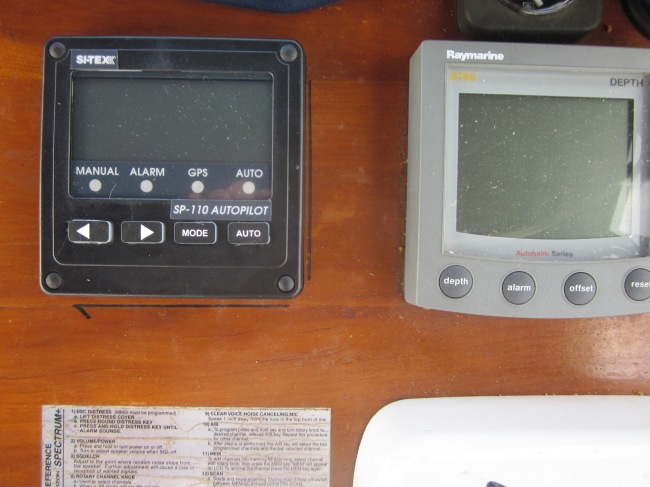
After some research I decided on the Sitex SP110 unit. Why? Because it’s the least expensive unit available with a proven track record of reliability. Sitex has been making autopilots since 1975 and has a great reputation among those who know. I discovered it via a cruisers forum and read several testimonials from those who own one.
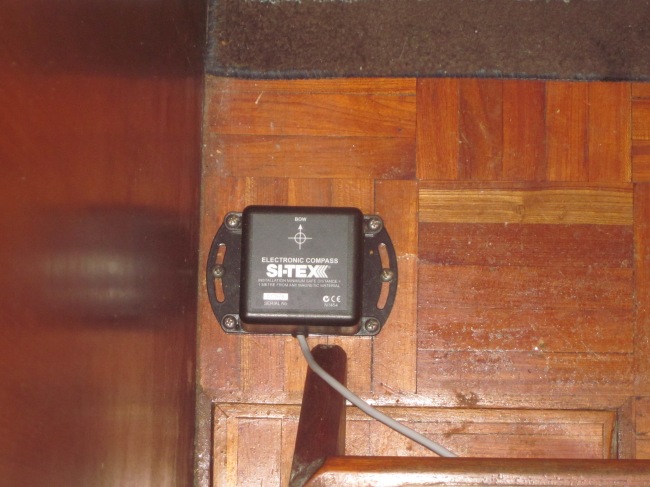
I opted to attempt the install myself for one reason only. I’m a cheap bastard. I also have the time and am a fairly handy guy. I was not prepared for how difficult it was going to be. Turns out you need to be a rocket scientist to hook these things up. I’ll start with the easy part. The electronic compass needs to be centered somewhere in the boat, away from anything magnetic. It has a limited length of cable that needs to run to the helm and attach on the rear of the control head. It should not be high in the boat, to reduce pitch and roll. Well there just wasn’t a good spot for it on our boat. It ended up on the floor of the companionway at the base of the steps leading to the Vee berth.
I put a sign at eye level at the top of the steps; DON’T STEP ON THE COMPASS!
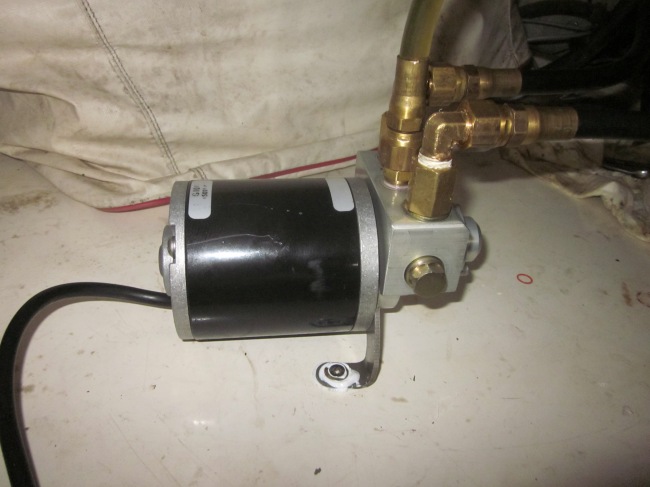
Next we move on to the Octopus reversible pump (for hydraulic steering). The autopilot itself did not come with hoses or fittings to tie the pump into the boats hydraulic system. I ordered what I thought I needed online and waited. When it arrived it turned out to be the wrong stuff. I sent it back and reordered another kit. When it came I closely inspected everything only to find that the tee fittings would not work with my system. The hydraulic hose have different end fittings than what came in the kit. Off to Ace Hardware to buy some fittings. I had to walk as we don’t have a car. I found 3 tees and 3 nipples that would make the hookup work. They rang me up and it came to $28.80. I said WHAT? 6 brass fittings for 28 bucks? I only had 26 bucks on me. Walk back to the boat, grab some more cash, walk back to Ace and get my stuff.
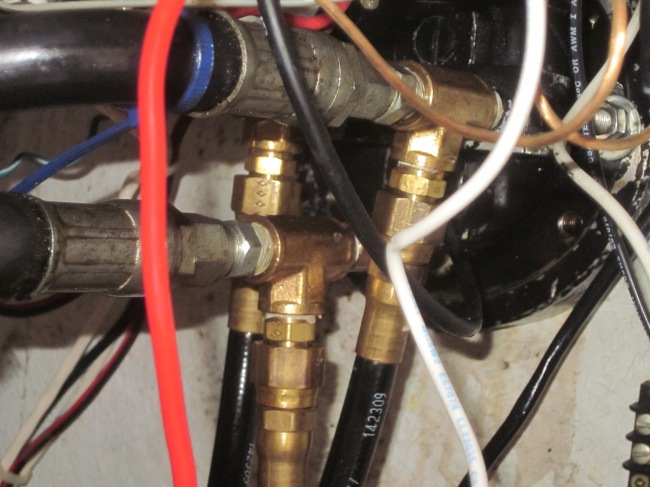
I got to install the tees on the back of the steering pump and the lower one won’t tighten because it’s hitting part of the pump. Back to Ace again, on foot for the third time, to get a longer nipple. This time it worked. By the way, it was 96 degrees that day. The temperature under the helm console was something like 157 degrees. Access is limited and there is no light. I sweated gallons.
Here’s the pump:
And here’s the tee connections:
I was so glad when this part was finished! Between ordering the wrong stuff and walking three times to Ace, it only took two weeks to complete.
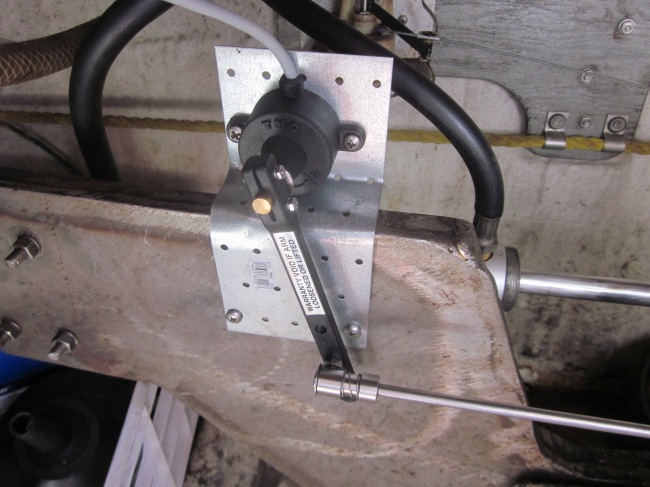
Now for the real puzzler. The rudder indicator has to be installed in the lazarette. Mounting required drilling thru hardened steal and bronze. I broke a drill bit on the steel, went back to Ace again for a titanium bit and got the indicator mounted.
The tricky part was attaching that arm you see running horizontally to the rudder post. My first attempt failed miserably. I didn’t take into account that the indicator rose up on either side of the rudders full movement. I scratched my head and muttered under my breath for a few days, ruminating over the issue. The ideas that came to me were all jury rigs and unnacceptable risks. I was stumped. Fortunately I recently made acquaintence with a very nice fellow who happens to have an engineering degree from MIT. He’s not a rocket scientist, but close enough.
He came and looked it over, took some measurements and drew some diagrams. He took this information home to his shop and promised to manufacture something that would work. A few days later he returned with some aluminum with holes drilled in it. He mounted it up and had me turn the wheel. No Go! Holy crap an MIT engineer couldn’t rig this thing up so it would work. He frowned and shook his head, then scratched his head and muttered under his breath. (Heck I can do that)
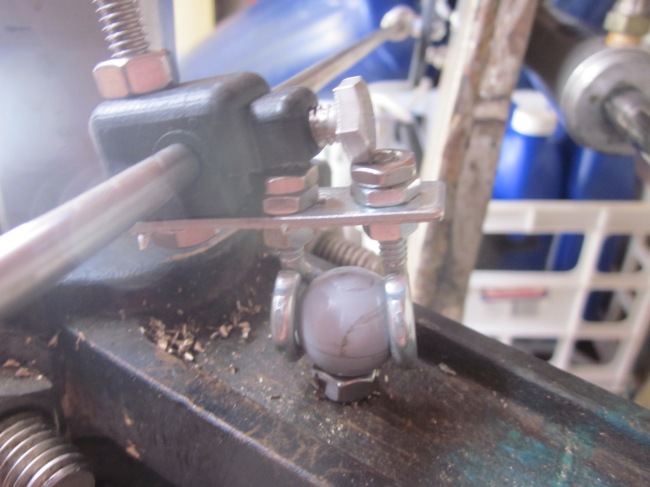
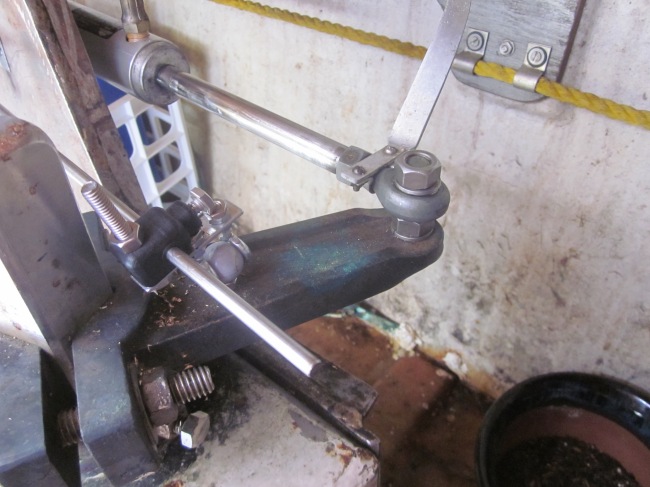
He said hold on a minute. Let me think this through. He then went off to Ace Hardware to wander the aisles until something caught his eye and sparked an idea. Back at the boat he managed to turn some weird household items into a gimballed mount. We drilled a hole in the brass arm using WD 40 as a lubricant to keep from breaking the bit. After about four hours we had it put together, and it worked!
When he failed on the first try I felt a little less stupid. But then he comes up with this contraption and I felt dumb all over again. Good thing I met him huh? He’s a heckuva a nice guy. Without him I’d still be scratching and muttering. God bless Ace Hardware as well.
Finally I needed to finish up the wiring. (I skipped the part about running all the cables, drilling holes, etc.) I connect the cable from the compass, the cable from the rudder indicator, the wires to the pump and the power to the unit. I turned it on. It lit up. Good start. I pressed auto and hit the arrow key to move the rudder. POP. Blown fuse. Crawl back under the console to find I had hooked into a 5 amp fuse, while the unit called for a 15 amp fuse. Replace fuse and wire direct to incoming 12 volt supply with a 15 amp fuse inline. Turn back on. It lit up. Press auto and hit arrow key. I hear the motor running but no movement from the rudder.
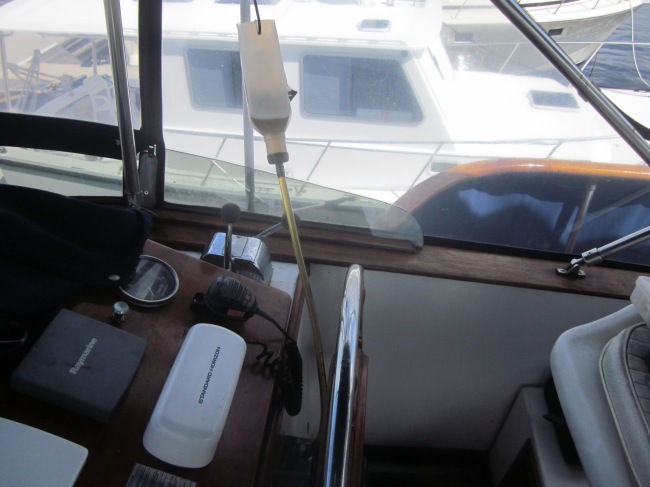
Mutter a little more then decide I hadn’t bled the hyrdraulic system thoroughly enough. Here’s my rig for that:
Spin the wheel back and forth a few thousand times and watch the bubbles rise up the tube and into the inverted jug. I left it this way overnight just in case any stray bubbles wanted to work their way through the system and escape.
After bleeding very thoroughly, I tried moving the rudder again. It worked! Oh my god I wanted to jump up and down and shout Hallelujah. The damn thing works.
I still will need to do some calibrations and see if it will “talk” to my chartplotter, but I need to be underway for that. At the very least, I know it will hold a heading. Two weaks and many hours later I’m done with this project. Couldn’t be happier that it’s over.
Our plan now is to leave Punta Gorda next week on July 2 or 3. We will be in Pelican Bay / Cayo Costa for the Fourth.
As always, you can read more of Kim and Ed’s adventures by purchasing their books here:

